For now we're starting out small by only doing 2.5 gallons at a time rather than the 5 gallons that recipes normally call for. This is a good family project. My dad likes it because of the chemistry behind the brewing, my mom likes it because she gets to take pictures, Christopher likes it because he gets to measure stuff and it's not that much work, and I like it because I get to drink it. Hahaha! Because I will be main consumer of this beer, we chose to make a Honey Wheat, which is one of my personal favorites.
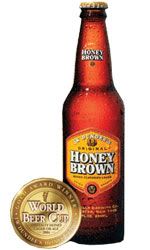
This Honey Brown is one of my all time favorite beers. I should look to see if they have it at BevMo since this is another one that I discovered when I was in NY. Besides my beloved Yuengling, this was another top five beer in my book.
The actual brewing process isn't difficult at all, you really just need to be able to set the time away to do it. It is even easy enough that you can do this by yourself, but you kind of need someone else to help pour at the end or at least hold your funnel. Each step takes a while to simmer and boil. Our house didn't smell so pleasant, but we're done with the concocting part. Now we just have to wait 7-10 days for it to ferment and then we can bottle it up with some sugar to make it carbonated. The directions say that there will be bubbles between the first 12-24 hours of fermentation. We're seeing bubbles, but not that many bubbles. Hopefully we didn't manage to kill our yeast somehow. We will have to wait and see. It smells like normal beer minus the fizz to me. Here are the pictures of our first day.

Simmering water with the honey grain until it gets to 150 degrees.
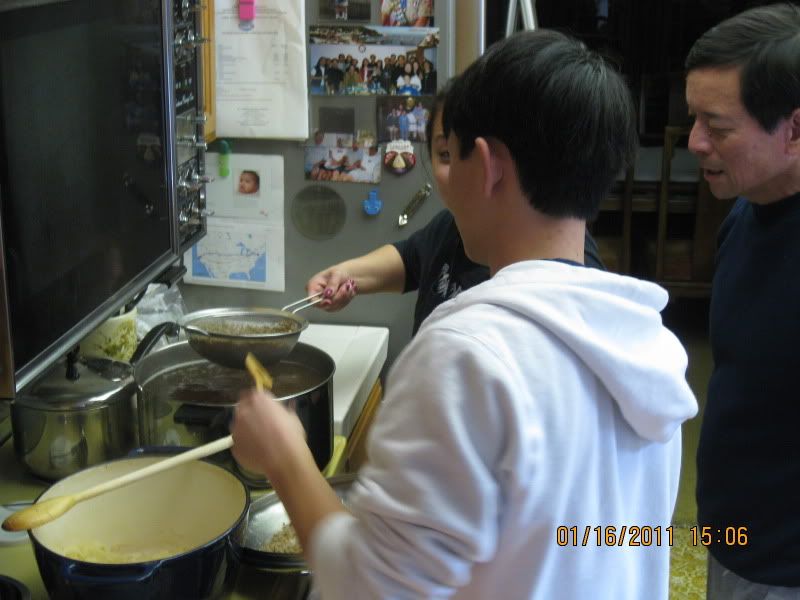
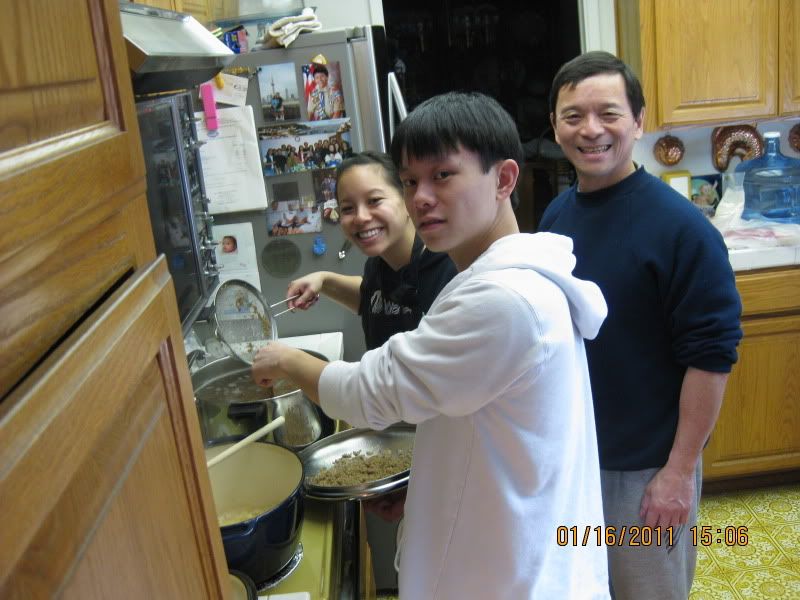
Straining the grain.

We've removed most of the grain bits with a strainer and are bringing it to a boil.
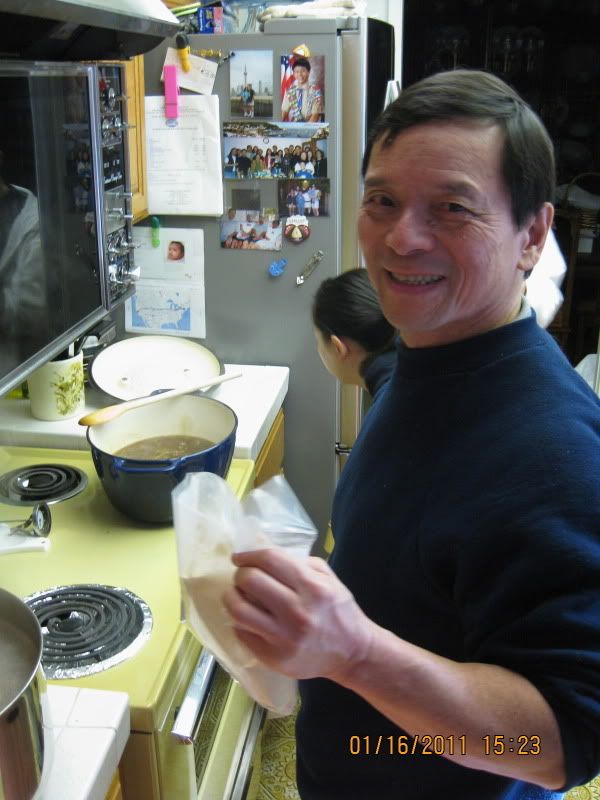
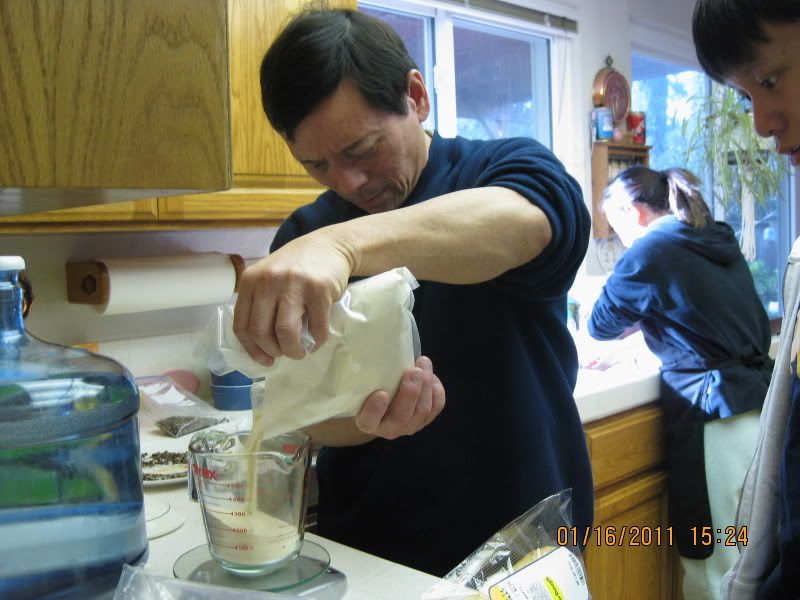
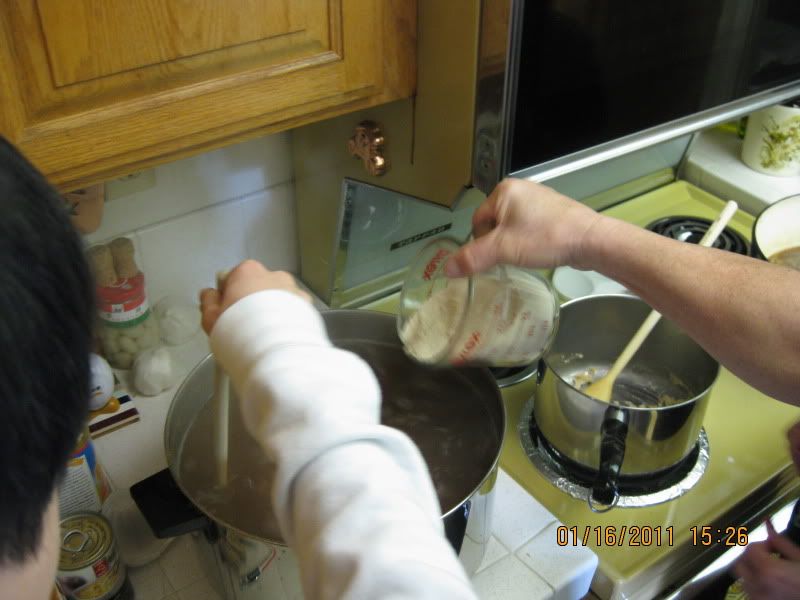
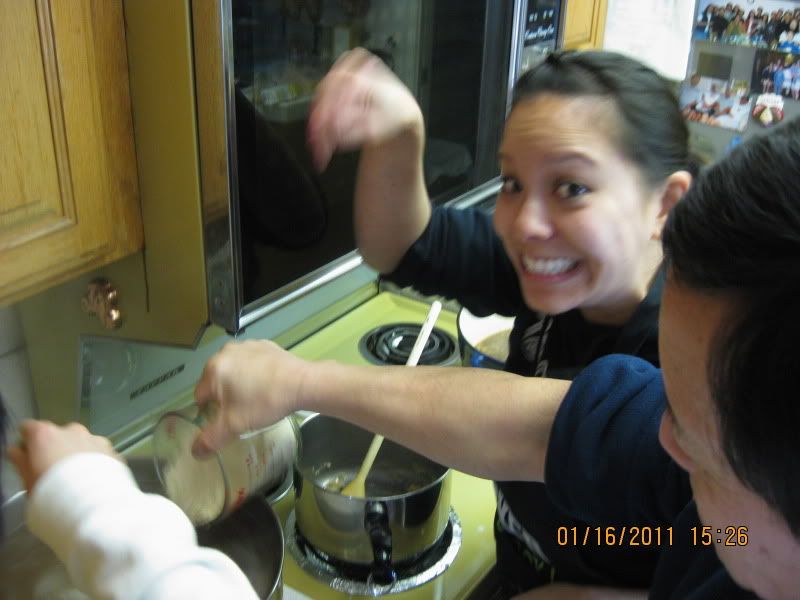
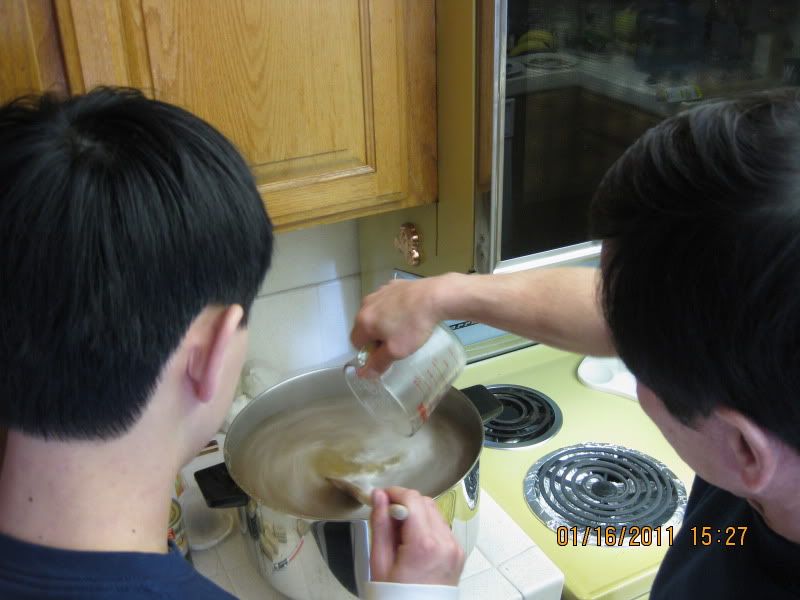
Measuring and adding the malt.
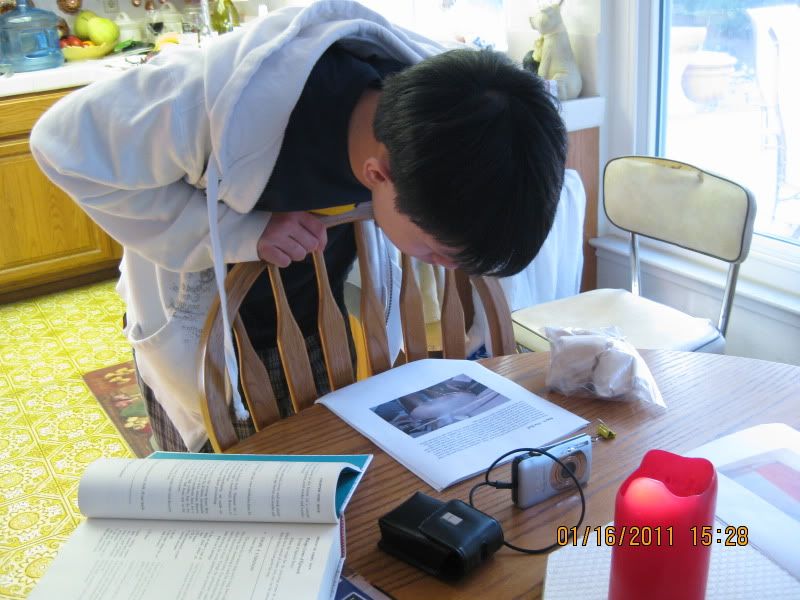
Making sure we're doing everything correctly.
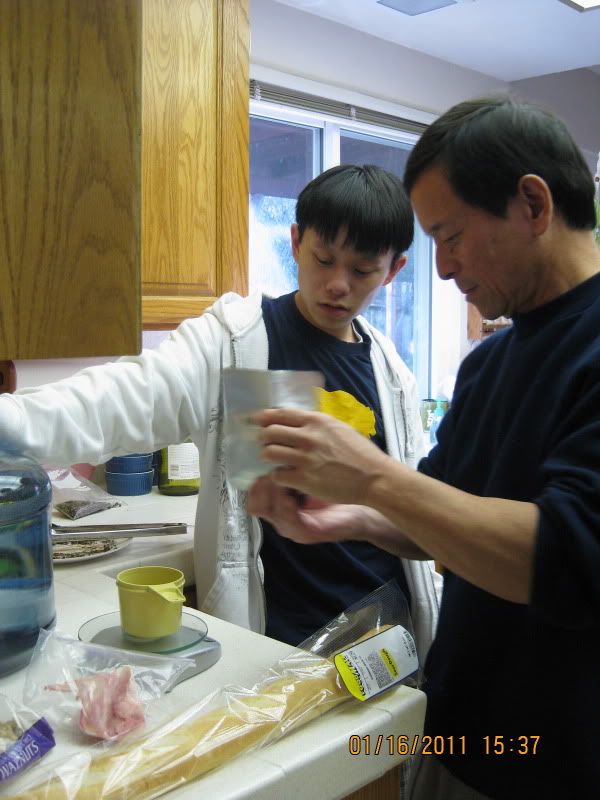

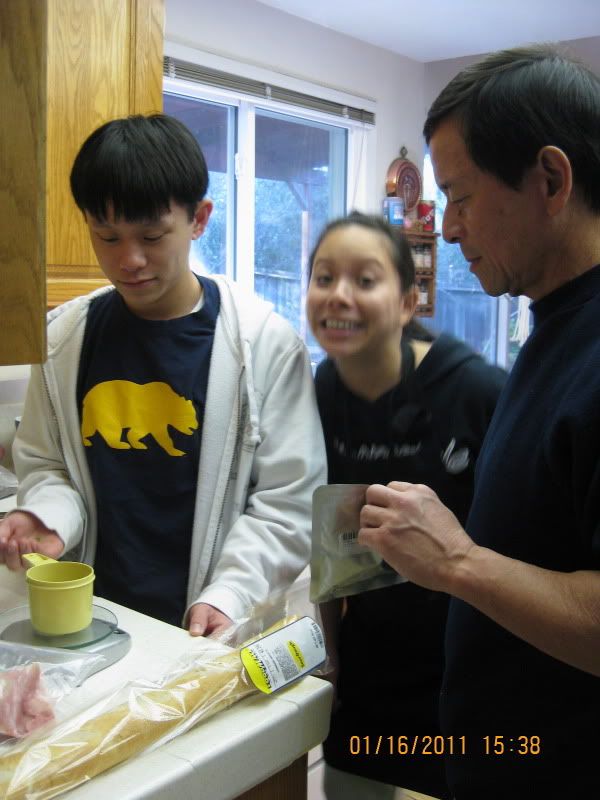
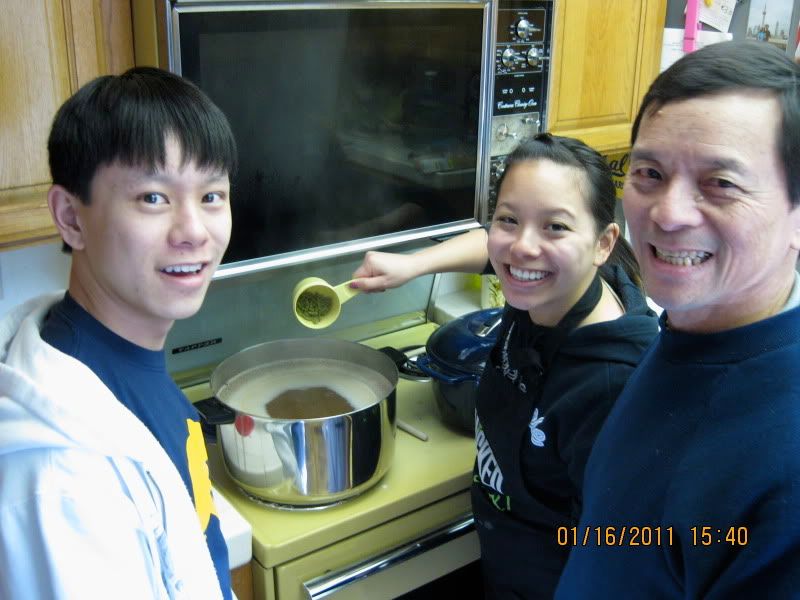
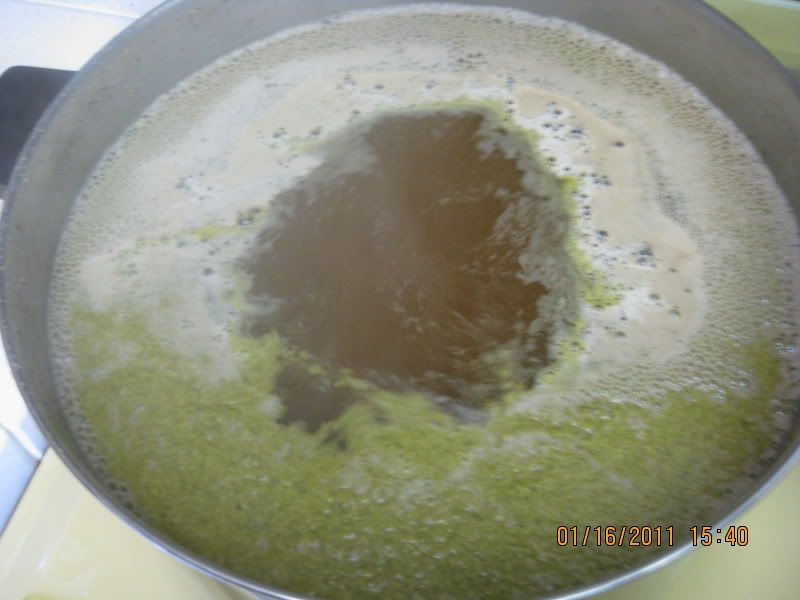
Weighing and adding the hops. Doesn't it look like rabbit food?! As soon as we added 2/3 of the hops like the directions said they all broke up and made a green foam that reminded me of minced parsley in soup.
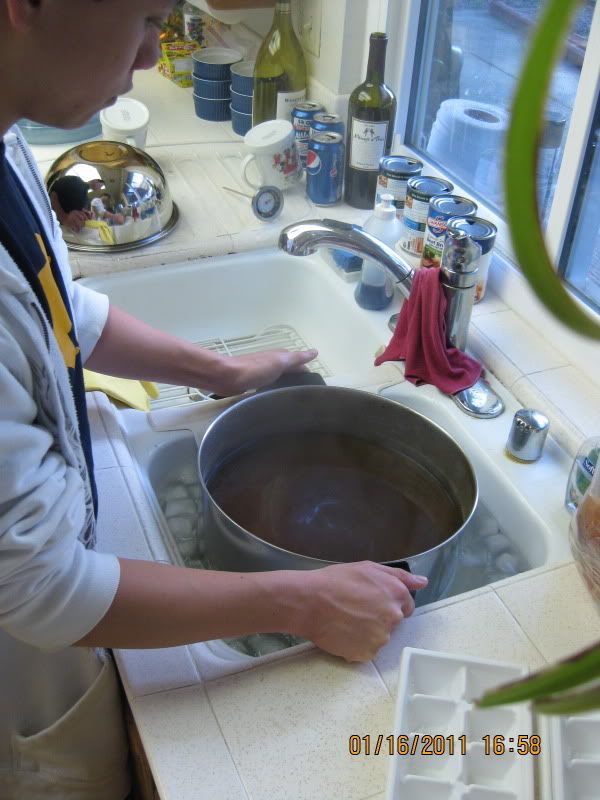
Christopher rapidly cooking the mixture in cold water.
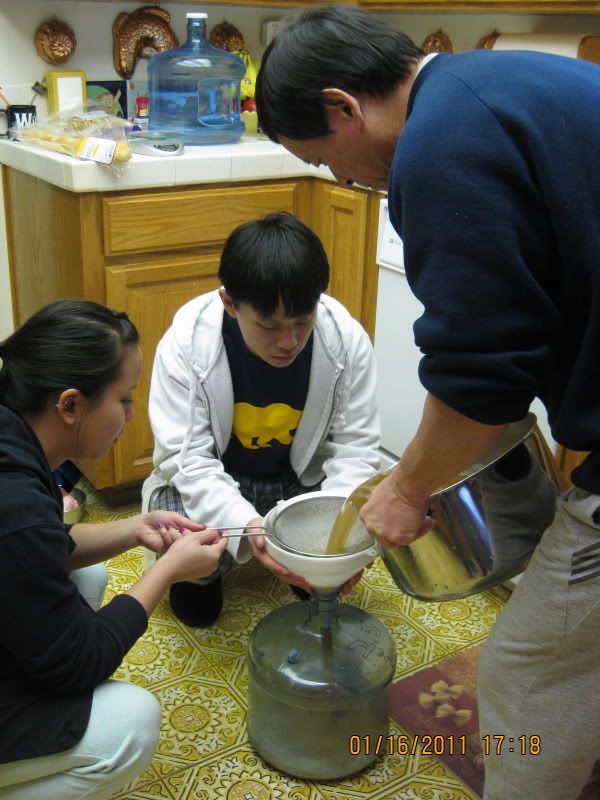
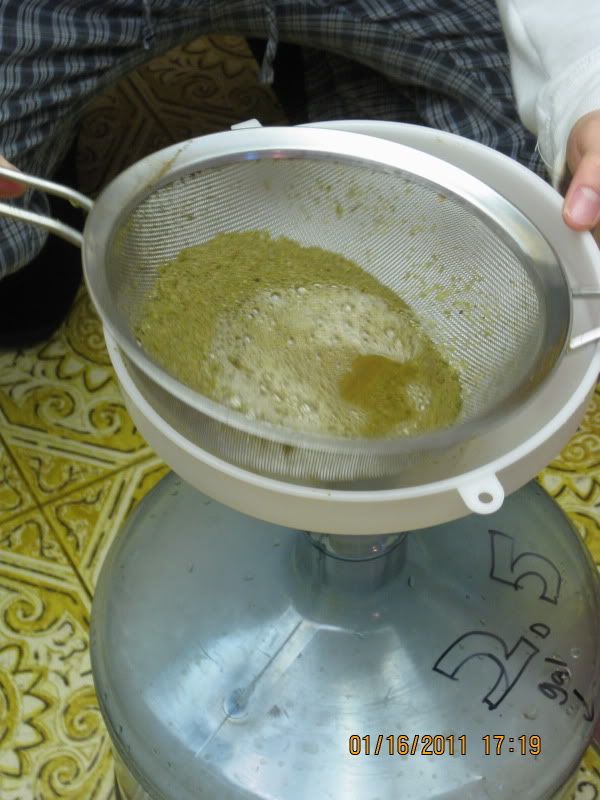
Straining and filling the water jug.

And now we wait! Hopefully this turns out well so that we can keep doing it. We didn't want to invest in a kit since they're a little pricey for the good ones. This batch should make us around 35 bottles, which is good enough for a first try. If it turns out well then maybe we will decide to buy a nice kit so that things are a little easier, but for how we're doing it bootleg style. When we get to the bottling portion I will give you an update. C'mon beer, bubble!
No comments:
Post a Comment