I can't believe it's almost here already! Four days until Linda gets married. In preparation, I made her a card box and helped her with her center pieces. Crafting isn't Linda's forte, but that's what she has bridesmaids for! With a glue gun and my crafting experience, we were able to make her center pieces look awesome. She was able to focus on getting her place cards all sorted out while I put the centerpiece vases together.
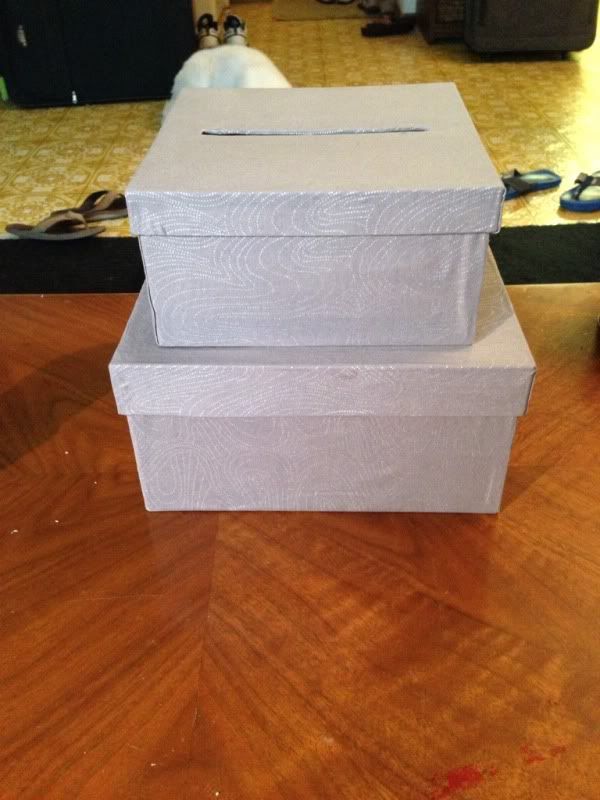 |
Originally, I had saved a couple of shipping boxes for
this project, but after looking at some tutorials on card
boxes, I decided to buy boxes with lids. I cut about a yard
and a half of fabric that matched with Linda's theme. I was
pleased that the creases on the sides flattened out when I
ironed them. That's right, ironed right on the the box. It
worked out really well. |
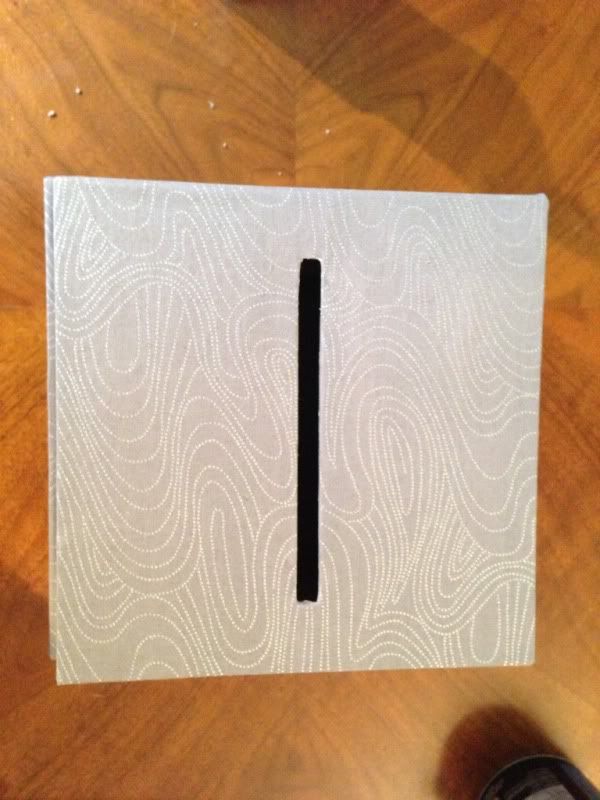 |
Using a box cutter, I traced out a hole for the cards to slip
in. I cut out the bottom of the small box, leaving about
1/2 an inch of a boarder so that I could glue the two boxes
together. With the portion that I cut out, I traced the same
sized hole on the lid of the big box. I then glued the two
boxes together, matching up the square holes. I used black
binder clips to hold the two boxes together until the fabric
glue dried. |
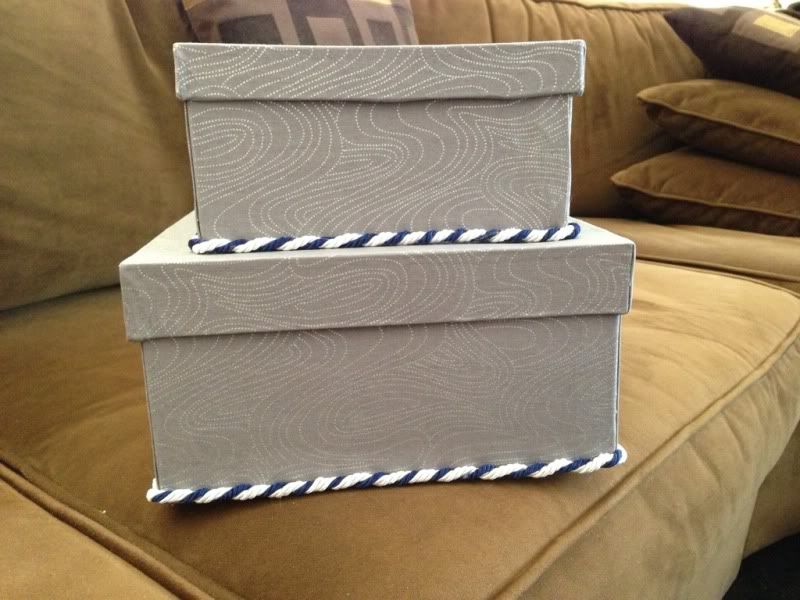 |
To model the invitations that I made for Linda, I wrapped the boxes in the blue
and white cord. We had embellished her invitations with blue and white
bakers twine so I wanted to keep with the theme. |
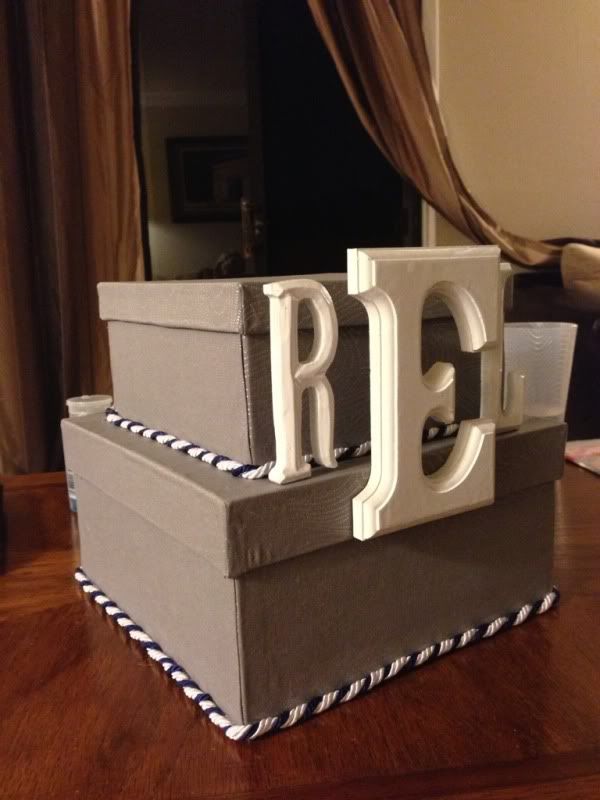 |
| I spray painted wood letters for a monogram. |

 |
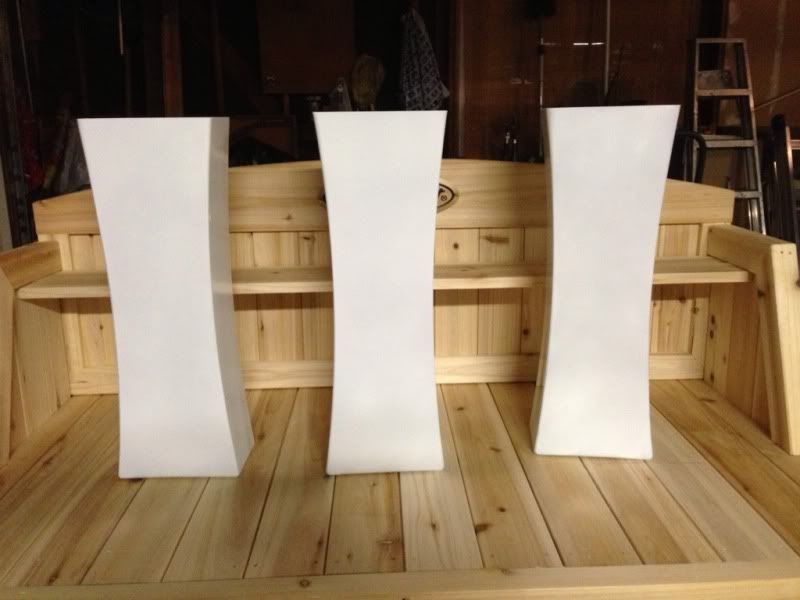
We were having a lot of difficulties finding white, rectangle vases that were tall
enough for what Linda was looking for. I found these at Ikea and was convinced
that I could spray paint them white to give Linda the look that she wanted.
There are some imperfections if you look closely, but from afar they don't look
so bad. I purposely painted the vases in large boxes in my parents' garage so
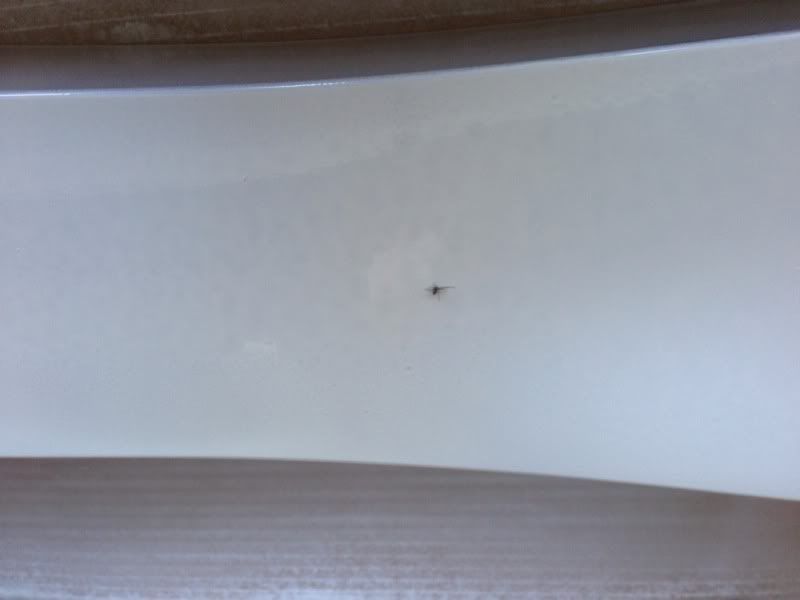
that dirt and dust didn't blow on them. What happens? A tiny spider crawls up
and decides to commit suicide right in the middle of one of the vases. I had to
send Linda a picture because I couldn't believe it. Thankfully, she thought it was
hilarious and I was able to scrape off the spider and paint over the spot. |


No comments:
Post a Comment